
Automate Open Badges with Zapier, Make, and n8n (No-Code Recipes)
Trigger badge issuance from Typeform completion, Stripe purchase, or Mailchimp tag — three working no-code recipes that take under 10 minutes each.
 By Nacho Coll
 Nacho founded Badges Ninja to make issuing verifiable digital credentials as simple as a single API call — Open Badge v2.0 badges and certificates, minted, hosted, and verifiable without standing up your own issuer infrastructure.
If you’re running a training program, a paid course, or an email list with tiers, the moment someone finishes, buys, or qualifies is usually already tracked somewhere — a form response, a Stripe charge, a Mailchimp tag. The badge should follow automatically from that event. It rarely does, because “issue a credential” isn’t a native action in most tools, and building a custom webhook receiver for a one-off automation is overkill.
This is exactly what Zapier, Make, and n8n are for. All three can call the Badges Ninja API directly — no plugin, no middleware server, no code deployment. Below are three working recipes you can copy today, plus the API key handling and error-retry behavior you need to get right so badges don’t silently fail to issue.
What you’re wiring together
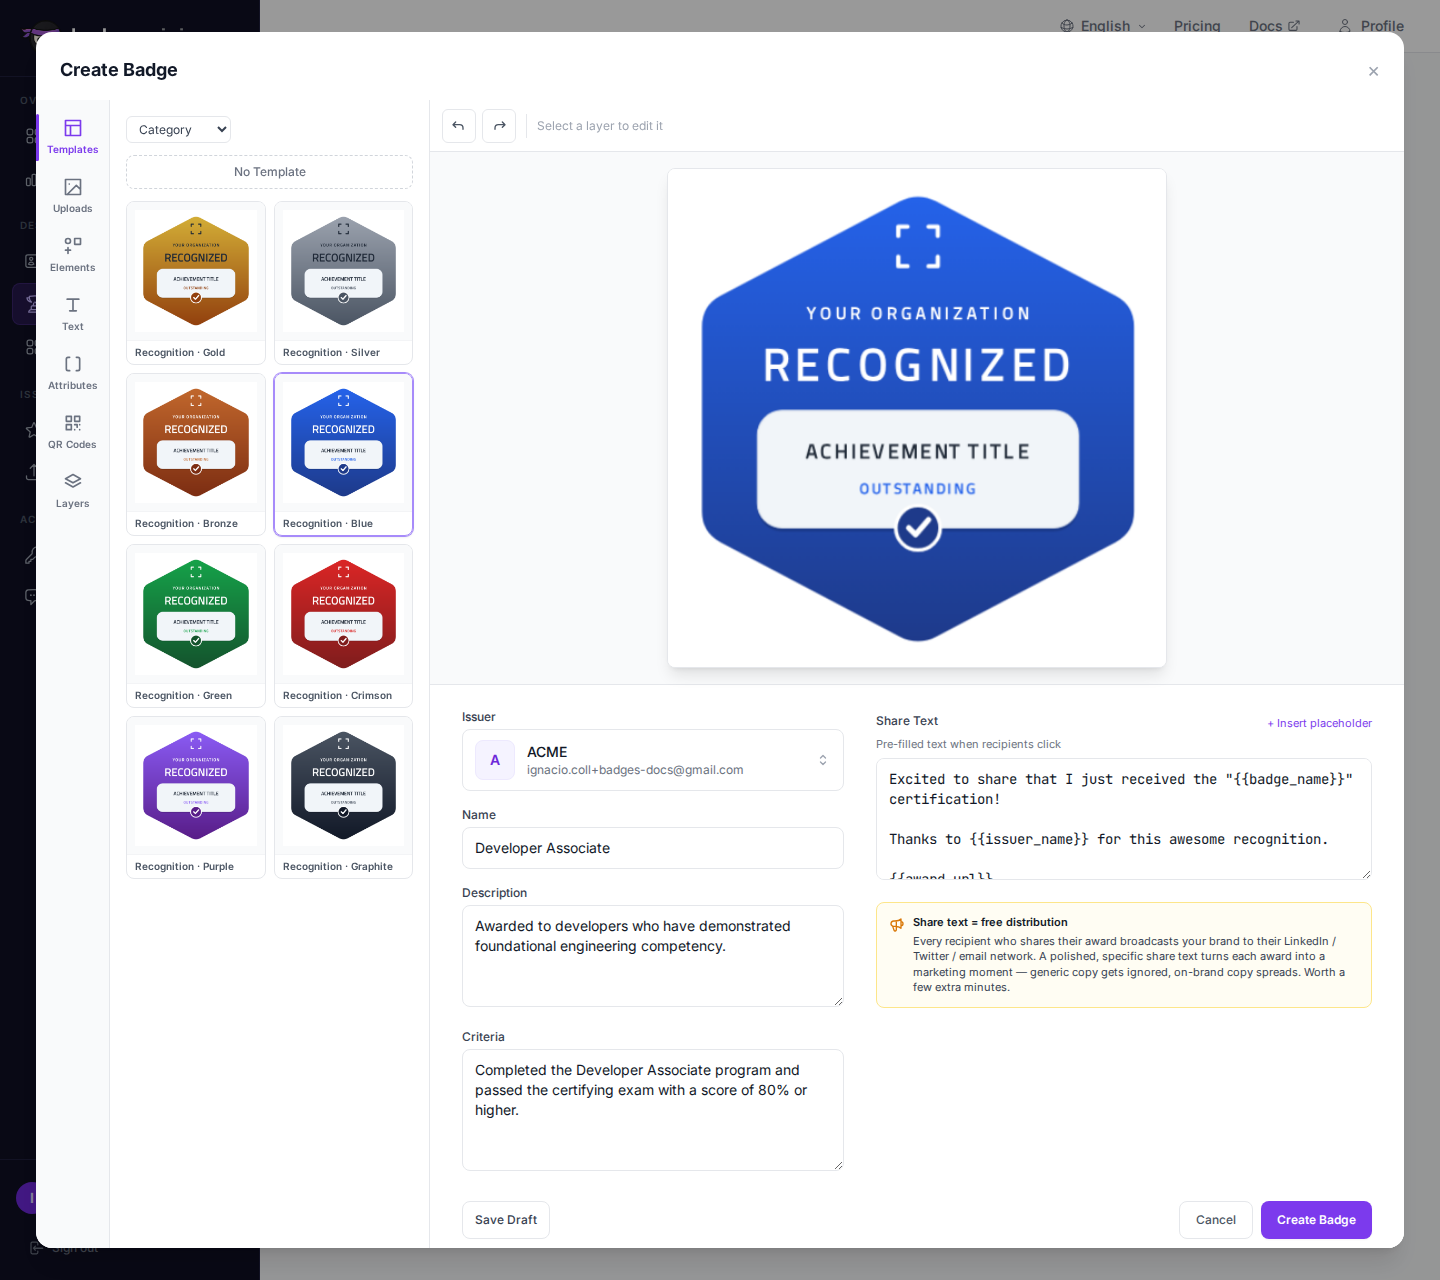
Every recipe follows the same shape: trigger → (optional) recipient lookup → HTTP POST to /awards. The /awards endpoint is what actually issues a badge to a recipient — you point it at an existing badgeId and it creates a unique, verifiable award with its own verification URL, QR code, and PDF certificate. See the API quickstart if you haven’t created a badge yet; you’ll need its ID before any of these automations can run.
Authentication for all three platforms is the same: an X-Api-Key header carrying a key generated from your dashboard. Automation platforms don’t handle OAuth flows well for arbitrary REST APIs, so API keys are the right fit here — long-lived, scoped to your account, and revocable in one click if a Zap ever misfires.
Create the API key first
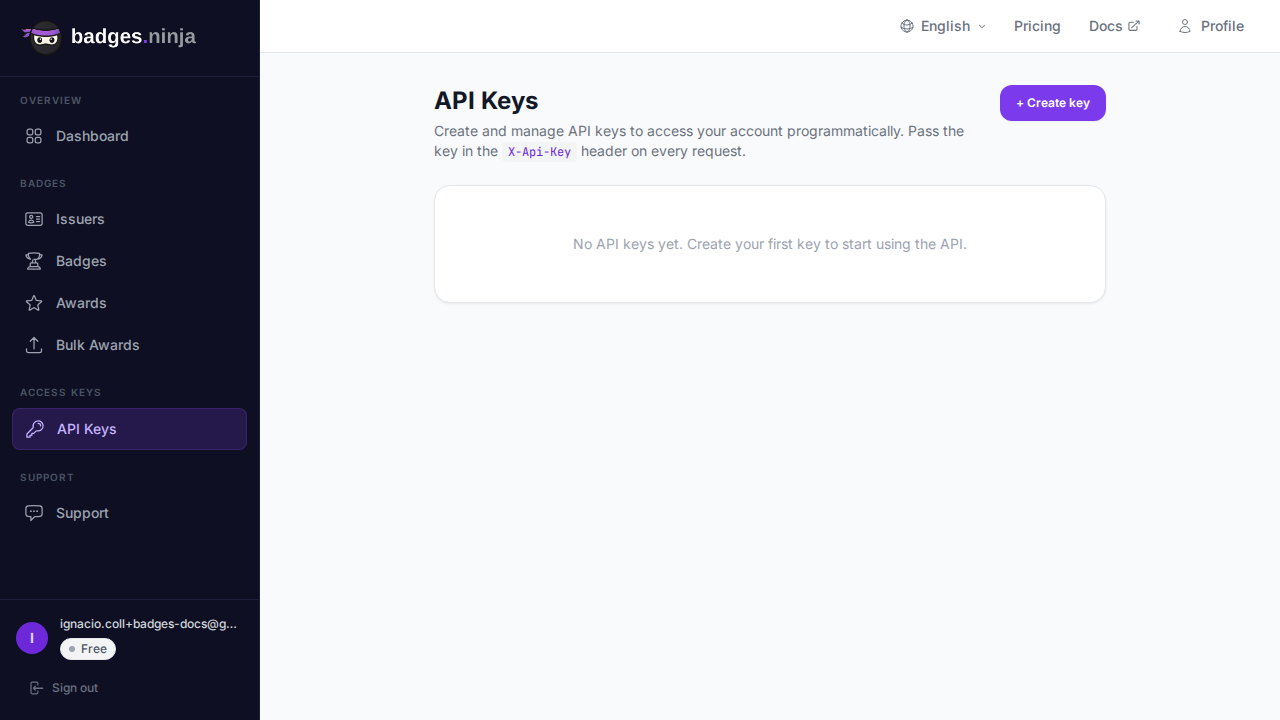
From your dashboard, open Settings → API Keys, click Create Key, and give it a name that matches its job — zapier-course-completions, not key1. That naming matters more than it sounds: if an automation misbehaves six months from now, you want to revoke that key without breaking three other integrations that happen to share it.
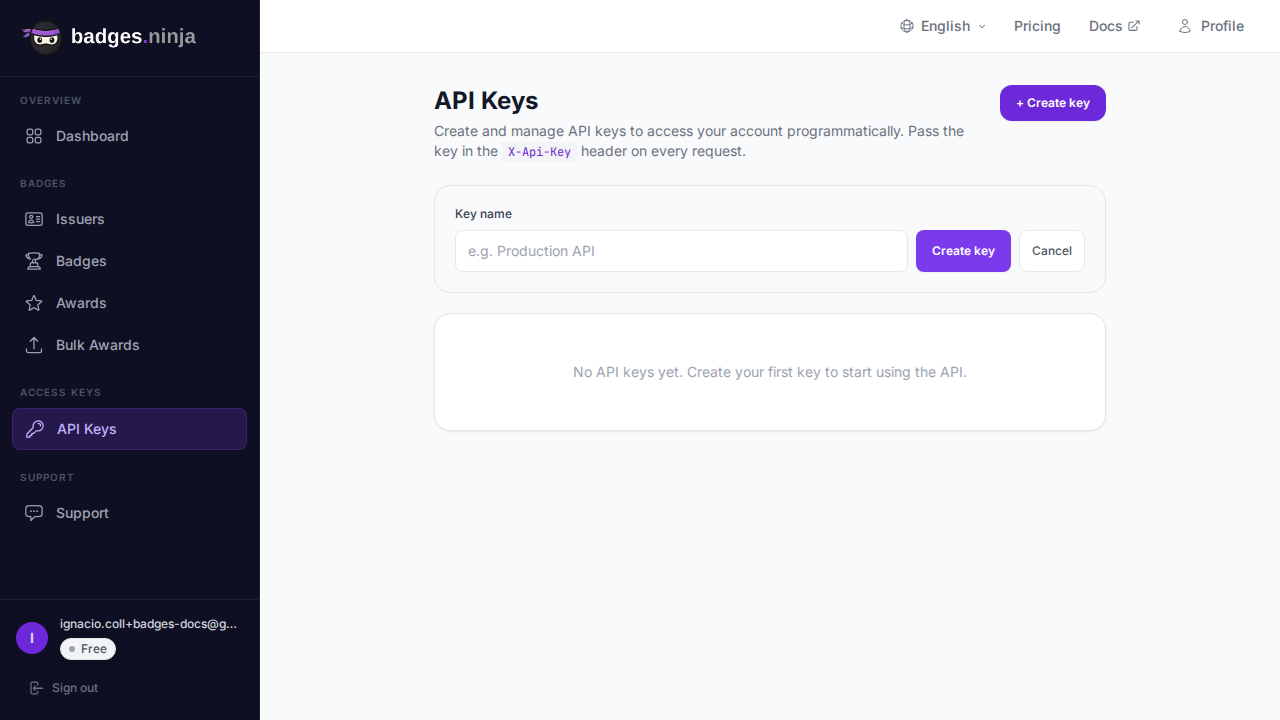
The key is shown once, in full, immediately after creation. Copy it into your automation platform’s secure credential store right away — Zapier’s “Connection,” Make’s “Connection,” or an n8n credential — never into a plain-text field inside the Zap/scenario/workflow itself.
Recipe 1: Typeform → Badges Ninja (cohort completion form)
Use case: a cohort finishes a course and fills out a short “I completed this” form (or you send a form as the final step of a self-paced track).
In Zapier:
- Trigger: Typeform — New Entry, scoped to your completion form.
- Action: Webhooks by Zapier — POST.
- URL:
https://api.badges.ninja/awards - Headers:
X-Api-Key: bws_<your key>,Content-Type: application/json - Data (map from the Typeform fields):
{
  "badgeId": "bdg_9f2a1c",
  "recipient": {
    "name": "{{typeform_name}}",
    "email": "{{typeform_email}}"
  },
  "issuedOn": "2026-08-27"
}
That’s the whole Zap. No filter step needed if the form only fires on real completions — if it’s a general contact form, add a Filter by Zapier step checking a hidden field or answer value before the webhook fires, so you don’t issue badges from spam or test submissions.
Recipe 2: Stripe → Badges Ninja (purchase = credential)
Use case: a paid certification exam, a premium course tier, or a membership plan where the badge is part of what people are buying.
In Zapier:
- Trigger: Stripe — New Charge (or New Invoice Payment Succeeded for subscriptions).
- Filter: charge amount equals the exact price of the credentialed product — this matters if your Stripe account handles multiple products through one webhook.
- Action: Webhooks by Zapier — POST to
https://api.badges.ninja/awards, same headers as above. - Data: map
charge.billing_details.emailandcharge.billing_details.nameintorecipient.email/recipient.name.
The nice part of tying issuance to a payment event: it’s naturally idempotent-adjacent. Stripe charge IDs are unique, so if you’re worried about a Zap re-firing on a retried webhook, add a Storage by Zapier step that checks whether you’ve already processed that charge ID before calling /awards.
Recipe 3: Mailchimp tag → Badges Ninja
Use case: you tag subscribers manually (or via another automation) when they hit a milestone — attended a webinar, finished a drip sequence, referred three people — and want that tag to trigger a badge without touching the API yourself.
In Zapier:
- Trigger: Mailchimp — New Tag Added to Subscriber, filtered to the specific tag (e.g.
webinar-attended). - Action: Webhooks by Zapier — POST to
https://api.badges.ninja/awards. - Data: map
subscriber.email_addressandsubscriber.merge_fields.FNAME+LNAMEinto the recipient fields.
This pattern is popular for recognition programs — sales SPIFFs, community milestones, event attendance — where someone on the team already has a habit of tagging contacts, and you just want the badge to fall out of that habit for free.
Handling errors and retries
Automation platforms are not transactional with your badge data, so build in the same discipline you’d want from a real integration:
- Check the response code. A
200means the award was created (the body is{ "awardId": "..." }); a4xxusually means a badbadgeIdor malformed email — that’s a configuration bug in the Zap, not something to retry blindly. A5xxis safe to retry. - Zapier: failed Zap runs land in the Zap History with the full request/response. Turn on Auto-Replay for transient failures, but set up an email/Slack alert on repeated failures so a silently broken Zap doesn’t mean three months of missing badges.
- Make: scenarios support a native Error Handler route — attach a Resume or Rollback directive on the HTTP module, and route persistent failures to a notification module instead of just discarding them.
- n8n: since it’s self-hosted or cloud with more granular control, wrap the HTTP Request node in an Error Trigger workflow, and consider writing failed payloads to a lightweight fallback store (Airtable, Google Sheets) you can replay manually.
In all three, avoid the trap of “it ran green so it worked.” A 200-looking response from a misconfigured webhook step (wrong URL, missing header) can still fail on the Badges Ninja side. Spot-check the dashboard’s award list weekly during the first month of any new automation.
Make.com equivalent
Make’s visual scenario builder maps almost directly onto the Zapier steps above:
- Trigger module — Typeform / Stripe / Mailchimp watch module, same as the Zapier trigger.
- HTTP → Make a Request module — Method
POST, URLhttps://api.badges.ninja/awards, headers set in the Headers table (X-Api-Key,Content-Type: application/json), body as raw JSON with mapped variables from the trigger. - Optional Filter between modules for the Stripe amount check or the “real completion” guard on Typeform.
Make’s advantage here is visibility — the scenario editor shows you the actual JSON payload at each step before you turn it on, which makes debugging a bad field mapping much faster than Zapier’s more linear step-by-step test view.
n8n equivalent
n8n is the best fit if you want this self-hosted, or if you’re already automating other parts of your stack there:
- Trigger node — Typeform Trigger / Stripe Trigger / Mailchimp Trigger (all built-in nodes).
- HTTP Request node — Method
POST, URLhttps://api.badges.ninja/awards, authentication set to Header Auth with yourX-Api-Keystored as an n8n credential (not hardcoded in the node), JSON body built from an expression referencing the trigger node’s output. - IF node (optional) — same completion/amount guard as above, placed before the HTTP Request node.
Because n8n credentials are encrypted and reusable across workflows, this is the cleaner option if you’re planning more than one Badges Ninja automation — set the credential once, reuse it in every workflow that needs to issue badges.
Why a generic webhook step instead of a native app
Zapier, Make, and n8n all have app marketplaces, and the instinct is to search for a “Badges Ninja” app before reaching for a generic HTTP/webhook module. Skip that search — for a REST API this small (create an issuer, create a badge, create an award, done), a generic webhook step gets you live in ten minutes with zero dependency on a third-party app maintainer keeping pace with API changes. A dedicated app adds a layer of abstraction you don’t need: you’d still be filling in the same badgeId, recipient.name, and recipient.email fields, just through a form instead of a JSON body. The API reference is short enough to read in five minutes, and once you’ve done that, the raw HTTP approach is actually less fragile — there’s no app-store approval cycle standing between a Badges Ninja API change and your automation working again.
Test before you flip it live
Every platform above gives you a way to run a single test execution without waiting for a real trigger event:
- Zapier — use “Test” on the trigger step to pull a sample record, then “Test” on the webhook action to fire exactly one real request. Check the award shows up in your dashboard before turning the Zap on.
- Make — run the scenario manually once (“Run once” button) with a sample bundle, and inspect the HTTP module’s output bubble for the actual response body.
- n8n — use “Execute Node” on the HTTP Request node with test input data, which lets you see the request and response inline in the editor.
Two things worth checking on that first test run: that the badgeId you hardcoded actually belongs to the badge you think it does (a stale ID from a duplicated Zap is a common mistake), and that the recipient email field is pulling a real address and not a placeholder like {{email}} left unresolved because of a mapping typo. Both mistakes are invisible in the automation platform’s “success” indicator — the HTTP call still returns 200 either way — so the only reliable check is opening the award in your dashboard and confirming the recipient is who you expect.
Avoiding duplicate badges
Every trigger source above can, under real-world conditions, fire more than once for the same event — Stripe retries webhooks on timeout, Typeform can double-submit on a slow connection, Mailchimp automations can re-trigger if a tag is removed and re-added. If your badge issuance isn’t idempotent, that turns into recipients getting the same credential twice, which looks sloppy and generates support email.
The cleanest guard is a lookup-before-create step: before the /awards POST, add a Search action (Zapier’s “Find Award” via a GET request, or the equivalent Make/n8n HTTP GET) against your own award records — a lightweight Google Sheet or Airtable log that the same Zap writes to right after a successful award works fine for this if you don’t want to query the API for it. If a record already exists for that recipient + badge combination, branch to a no-op instead of issuing again. This is a five-minute addition, and it’s the difference between an automation you trust unattended and one you have to babysit.
When no-code isn’t enough
These recipes cover single-event triggers well. Once you’re issuing hundreds of badges from a single CSV export — a cohort graduating, a conference attendee list, a bulk CE-credit renewal — skip the automation platform and use bulk badge upload directly: it pauses and resumes mid-batch and survives a closed browser tab, which no-code webhook loops don’t handle gracefully at volume.
Ready to issue your first verifiable credential? Start free at badges.ninja — visual designer, public verification page, PDF certificate, Open Badge v2.0 output. No credit card required.
About the author
Nacho Coll
Founder & Engineer at Badges Ninja
Nacho founded Badges Ninja to make issuing verifiable digital credentials as simple as a single API call — Open Badge v2.0 badges and certificates, minted, hosted, and verifiable without standing up your own issuer infrastructure. Writes about the Open Badges spec, credential verification, and running a credentialing platform serverless on AWS, from the operator side of the wire.