Coding Bootcamp Open Badges: Issuing Verifiable Credentials at Cohort Scale
Coding/data/UX bootcamps issue badges per skill stack, per project, per capstone. The right architecture so your alumni network becomes a hiring pipeline.
 By Nacho Coll
Nacho founded Badges Ninja to make issuing verifiable digital credentials as simple as a single API call — Open Badge v2.0 badges and certificates, minted, hosted, and verifiable without standing up your own issuer infrastructure.
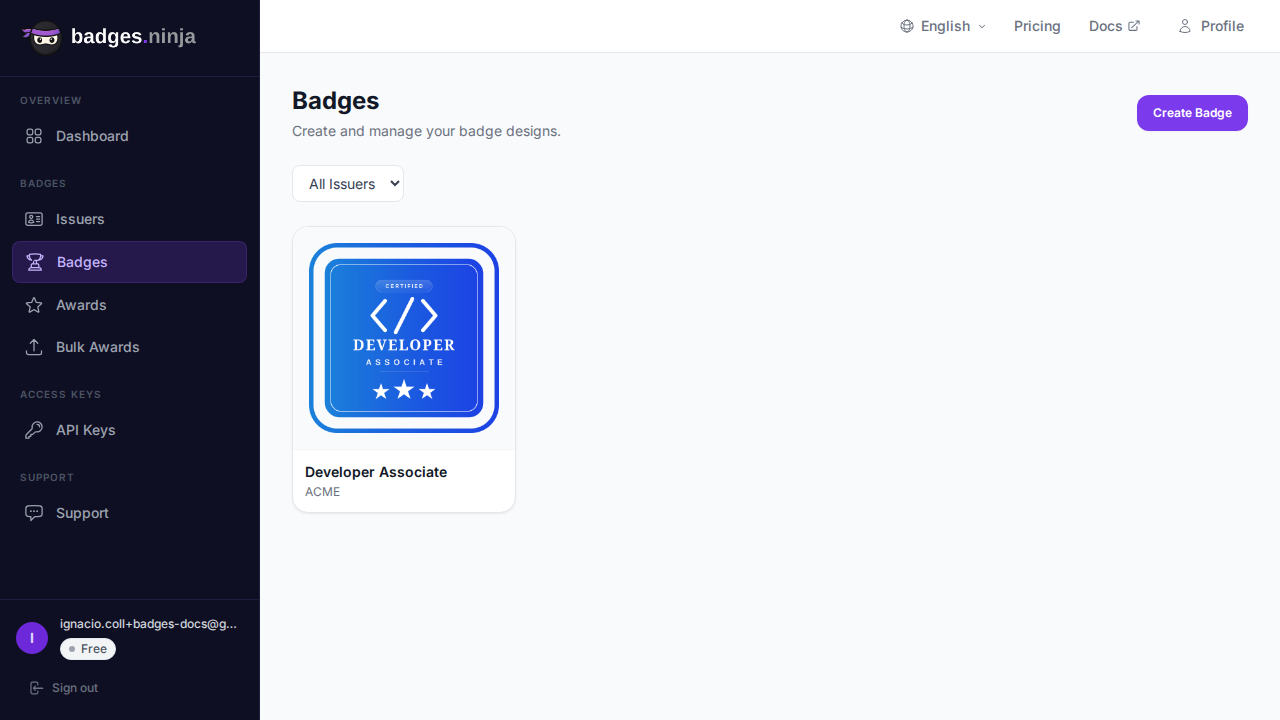
A bootcamp graduate walks into an interview with a PDF that says “Full-Stack Web Development, Completed.” The hiring manager has never heard of your program, cannot tell what the graduate can actually do, and has no quick way to check the PDF is real. Meanwhile, the graduate spent twelve weeks building a React app, a Node API, and a capstone project that never shows up on that page.
Open Badges fix that gap. A badge is a small, verifiable record that says who issued it, what was earned, when, and what the learner had to do to earn it. For a bootcamp, the interesting part is not issuing one big “graduated” credential. It is issuing a set of them, one per skill stack and one per project, so the graduate’s profile tells the real story of the twelve weeks.
This guide covers how to structure that badge set, how to issue it at cohort scale without a spreadsheet nightmare, and how to turn your alumni’s LinkedIn shares into something your admissions team can actually measure.
Why a single completion certificate undersells your program
Most bootcamps issue exactly one credential at the end. It is easy to do, but it has three problems:
- It hides the curriculum. “Completed the program” says nothing about whether the graduate learned React, SQL, or Git workflows.
- It arrives too late. Learners stay motivated when they get something concrete every two or three weeks, not a single reward at the end.
- It is hard to verify. A PDF can be edited. Recruiters rarely have the time to email your admissions office to confirm a certificate.
A stack of badges addresses all three. Each badge links to a public verification page, so a recruiter can click through and see the issuer, the badge description, the issue date, and the criteria. No account, no email to your office.
Design the badge architecture first
Before you open the designer, decide what you are going to issue. A pattern that works for most coding, data, and UX bootcamps has three layers.
Layer 1: Skill badges
One badge per skill stack taught in the curriculum. For a web development bootcamp that might be:
- HTML and Accessibility
- CSS and Responsive Layout
- JavaScript Fundamentals
- React Applications
- Node.js and REST APIs
- SQL and Data Modeling
- Git, Testing, and Deployment
Keep the criteria honest and specific. “Built and deployed a responsive site passing an accessibility audit” is a better badge description than “Learned CSS.” The criteria text is what a recruiter reads, so write it for them.
Layer 2: Project badges
One badge per assessed project. These are the most valuable to employers because they point at something real: a repository, a deployed demo, a case study. If your instructors already review projects against a rubric, the badge is just the output of that review.
Layer 3: The capstone meta-badge
A single badge that says “completed the full program,” issued only when the skill badges and the capstone are done. Think of it as the umbrella credential. Because the smaller badges already exist, this one carries more weight than a standalone certificate ever could.
Three layers sounds like a lot of badges, but it is mostly a one-time design effort. A typical bootcamp ends up with somewhere between eight and fifteen badge designs that it reuses for every cohort.
Build the badges in the visual designer
You do not need a designer on staff. The visual designer on https://badges.ninja has 80+ templates, shapes, icons, and fonts, plus custom image upload if you already have program branding.
A few practical rules from programs that have done this:
- Use one shape per layer. Skill badges share a shape, project badges share another, and the capstone gets its own. Alumni profiles then read at a glance.
- Put your program’s color in every badge. When graduates share a badge, your brand rides along.
- Keep the badge name short. “React Applications” fits. “Advanced Modern React Application Development Level 2” does not.
- Write the description for a hiring manager, not for your students.
If you want a walkthrough of the editor itself, see designing your first verifiable digital certificate.
Register your bootcamp as the issuer
Every badge belongs to an issuer, which is the organization name and identity recruiters see on the verification page. Register your bootcamp once, add your logo, website, and contact email, and every badge you create under it carries that identity.
When the issuer email matches the email you signed up with, the issuer is verified automatically. That is a small detail with a big payoff: your bootcamp’s name appears on every credential as a verified issuer, not as an anonymous account. The issuers guide in the docs, at https://badges.ninja/docs/guide/issuers, covers the form fields.
If you add the bootcamp’s LinkedIn organization ID to the issuer, the Add to LinkedIn profile button on each credential page pre-fills your verified company page instead of just a name string. Our guide on adding the LinkedIn Add to Profile button shows where to find that ID.
Issue at cohort scale
Here is where bootcamps differ from most credentialing programs: you do not issue one badge to a thousand people once a year. You issue several badges to thirty or forty people every few weeks, for years. The workflow has to be boring and repeatable.
The CSV route
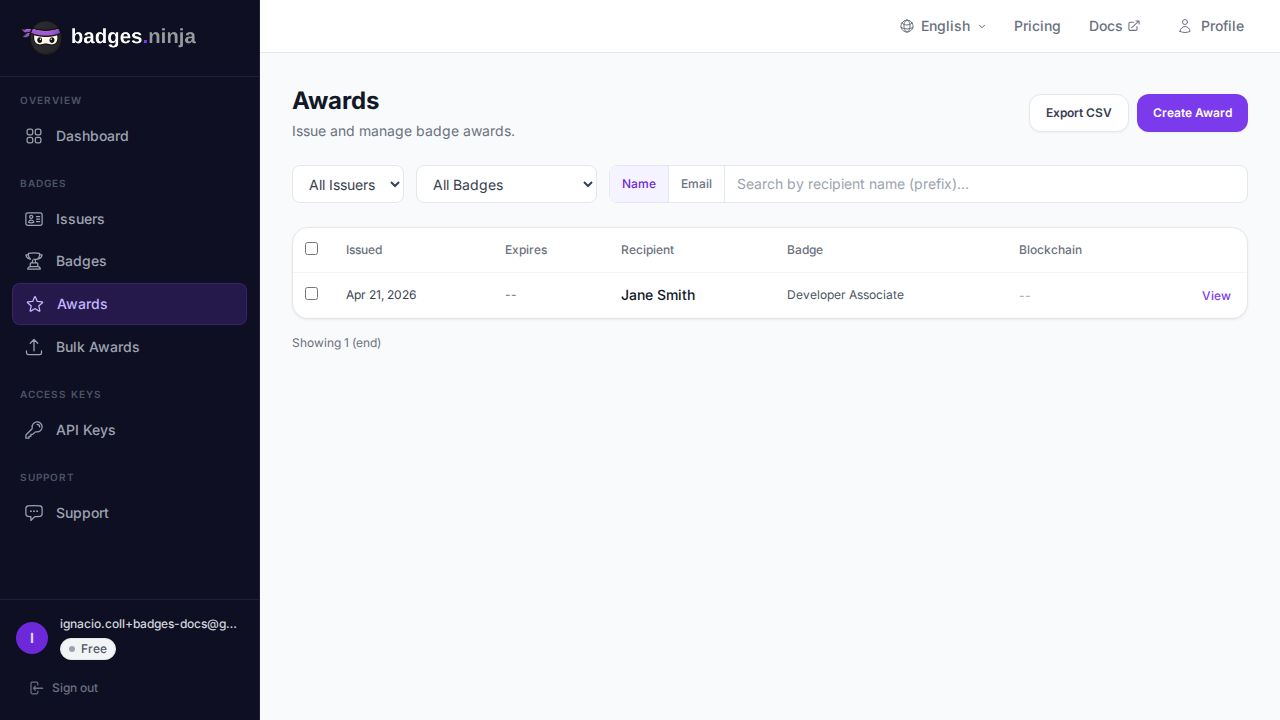
For almost every bootcamp, the right tool is the bulk credentials page in the dashboard. You pick the badge, upload a CSV with a name column and an email column, and let it run. Names must be at least five characters and emails must be valid. Rows that fail validation are skipped and flagged rather than blocking the whole batch.
A few features matter specifically for cohort programs:
- Pause and resume. If a batch is interrupted, or you run out of plan allowance, it pauses rather than burning through the file. Top up or upgrade, click Resume, and it continues where it stopped.
- Page refresh recovery. Close the browser mid-batch and the session is recovered when you return.
- Retry failures. A typo in one email does not mean re-uploading the whole file. Fix the issue and retry only the failed rows.
- Results CSV. Download every row with its credential URL, which is handy for your alumni records.
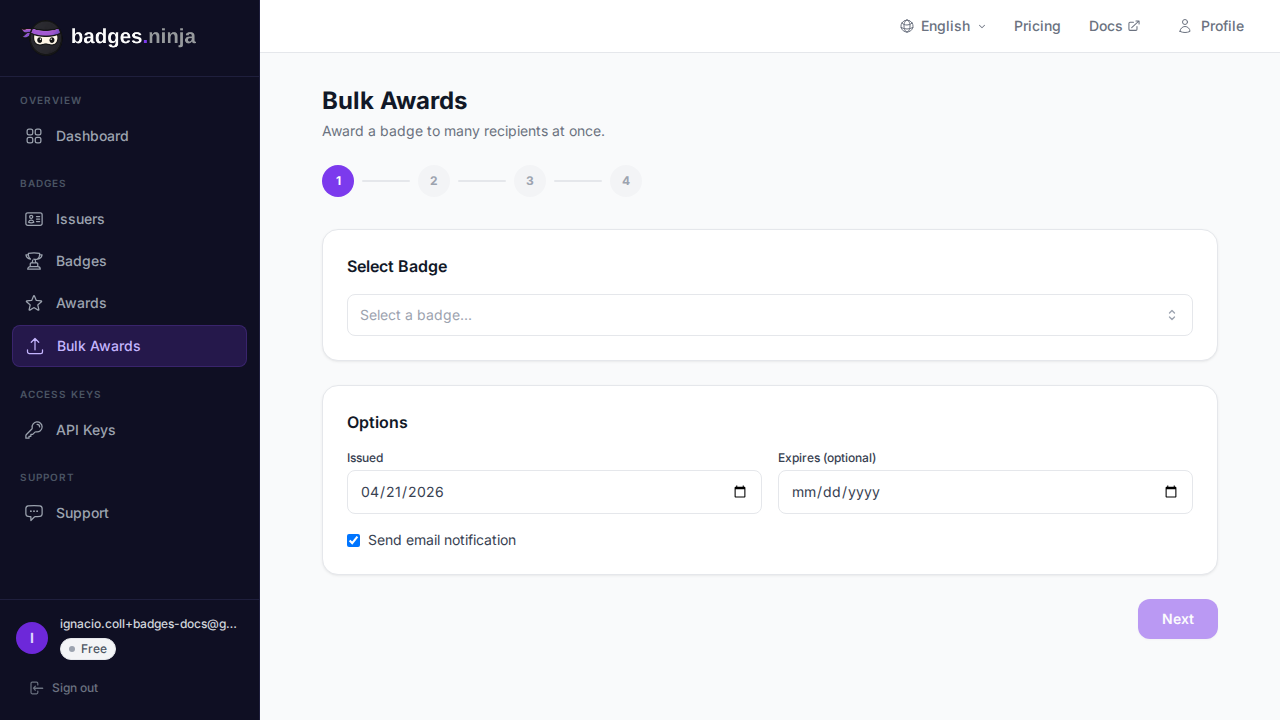
The full walkthrough, including CSV format and what each screen shows, is in how to issue Open Badges from a CSV in under five minutes. The reference for every option is the bulk credentials guide at https://badges.ninja/docs/guide/bulk-awards.
Where the CSV comes from
Most bootcamps already track cohort progress somewhere: a spreadsheet, Airtable, or the learning platform’s gradebook. The simplest process is:
- At the end of each module, filter your tracker for learners who passed the assessment.
- Export name and email.
- Upload that CSV against the matching skill badge.
That is a two-minute task per badge per cohort. It does not need a script, a developer, or a Zapier subscription.
When you do want the API
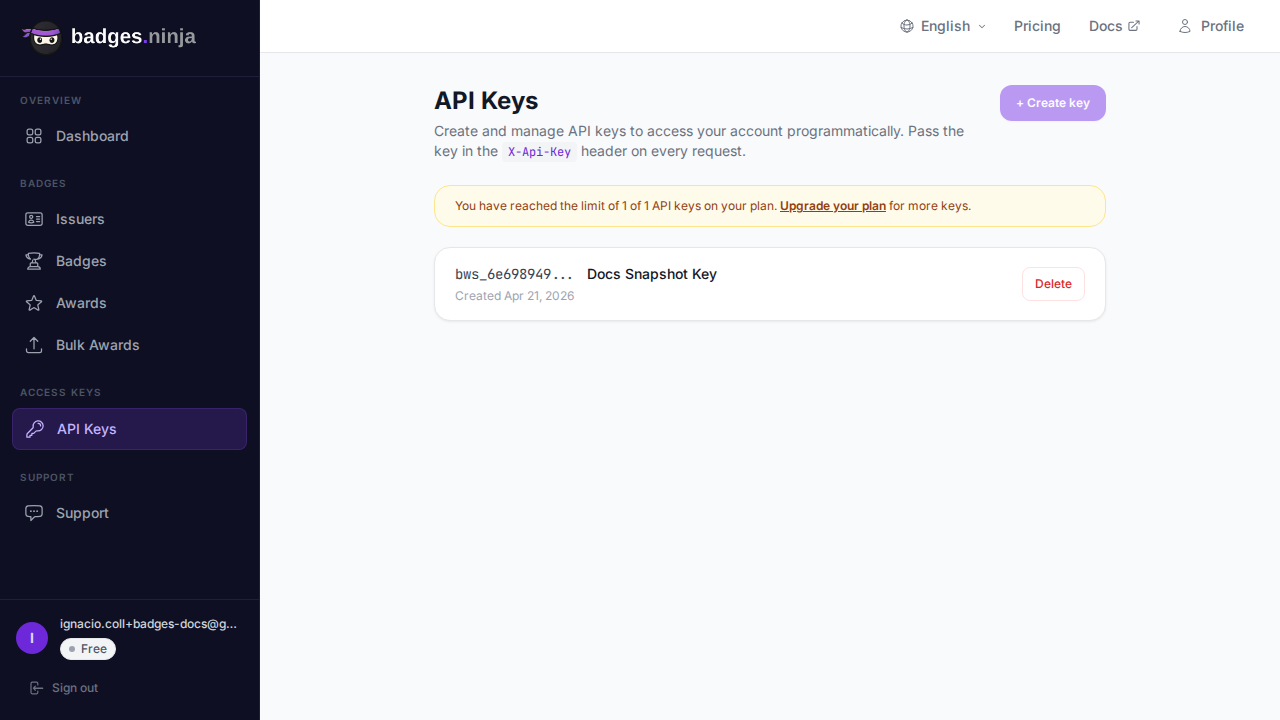
If your learning platform already knows the moment a learner passes, you can issue the badge automatically instead of exporting a list. The API is a single call. Here is the shape in JavaScript:
const res = await fetch("https://api.badges.ninja/awards", {
  method: "POST",
  headers: { "X-Api-Key": process.env.BADGES_API_KEY, "Content-Type": "application/json" },
  body: JSON.stringify({
    badgeId: "your-badge-id",
    recipient: { name: "Jane Smith", email: "jane@example.com" },
    issuedOn: Date.now(),
  }),
});
const { awardId } = await res.json();
const verifyUrl = `https://badges.ninja/awards/${awardId}`;
The recipient is a nested object with a name of at least five characters, and issuedOn is required. A successful call returns HTTP 200 with the awardId, and the public verification page lives at the URL built from it. Authentication, errors, and the other endpoints are covered in the API docs at https://badges.ninja/docs/api/awards. Most bootcamps never need this, so treat it as an upgrade for later.
What graduates see
Recipients do not need to create a password to collect what they earned. They get an email with a link to their credential and can sign in to the recipient portal at https://badges.ninja/me with a magic link sent to their email address. Every badge they have been issued shows up in one place, and they can choose to publish a public profile page.
On each credential page, graduates can:
- Add the credential to their LinkedIn profile under Licenses and Certifications.
- Share it to LinkedIn, X, or by link.
- Download the badge image or a printable A4 PDF certificate.
- Show a QR code on the verification page, which is useful for a printed demo-day handout.
That last point matters for the ceremony. Many bootcamps still want a physical-feeling moment at graduation. Handing over a printed certificate that carries a QR code to the live verification page keeps the tradition and adds the proof.
Turn alumni shares into a hiring pipeline
Here is the part most programs miss. A badge on a graduate’s LinkedIn profile is not just a credential. It is a small, permanent advertisement for your bootcamp, sitting in front of the exact audience you want: recruiters and hiring managers.
To make that work:
- Issue early and often. A learner who collects a badge every two or three weeks has many chances to share. Someone who gets a single certificate at the end has one.
- Make sharing a graduation task. Add a “publish your badges” step to your final-week checklist and walk through it live in a session. It takes about five minutes.
- Use the verified issuer. When your LinkedIn organization ID is set, your bootcamp’s company page is attached to every addition, so curious recruiters can click through to you.
- Watch the engagement numbers. Each award tracks engagement, so you can see which badges are actually being viewed and shared. Over a few cohorts, that tells you which skills employers care about and which badge designs people are proud to post.
That feedback loop is the real reason to move past a single completion certificate. If your React badge is shared three times as often as your SQL badge, that is useful information for both your marketing and your curriculum.
Give employers a fast way to check
Hiring teams that receive a bootcamp graduate’s application will often ask one question: is this real? Put the answer where they will look.
Every credential has a public verification page that needs no signup, and an Open Badge v2.0 JSON-LD version at https://api.badges.ninja/certify-badge/award/<guid> for systems that read it programmatically. You can tell graduates to put the verification link directly on their resume or portfolio, next to the project it relates to. A recruiter who clicks it sees the issuer, the badge, the date, and the criteria. That is faster than any email to your admissions office, and it scales to every alumnus you have ever graduated.
If you want a technical explanation of what that JSON contains, our annotated Open Badge v2 JSON-LD example walks through every field.
A realistic rollout plan
You do not have to change everything at once. Here is a sequence that fits inside a normal program calendar:
- Week 1: Register the bootcamp as an issuer. Design the capstone badge only. Issue it to your next graduating cohort via CSV.
- Month 1: Design skill badges for the two or three most employer-valued stacks. Issue them at the end of the matching modules.
- Month 2: Add project badges for assessed projects. Add the “publish your badges” checklist item to graduation week.
- Quarter 2: Look at engagement numbers and refine. Back-issue badges to recent alumni, since you already have their emails from the cohort lists.
- Later: If your platform emits completion events, wire up the API so issuance is automatic.
Back-issuing is easy to overlook. Alumni from the last two years can receive the capstone badge with their original completion date, which gives you an immediate burst of shares from people who already have jobs and recruiter visibility.
Plan and cost considerations
Pricing for credentialing platforms often scales with the number of credentials, and a layered badge approach multiplies your issuance count. A forty-person cohort with six skill badges, three project badges, and a capstone badge is four hundred credentials per cohort. Run six cohorts a year and you are at 2,400.
The Free plan on https://badges.ninja includes 1,200 credentials per year, which is enough to start with the capstone and a few skill badges. Starter is $9 per month and Pro is $29 per month, with higher annual allowances. Check the live numbers on the pricing page at https://badges.ninja/pricing before you plan your badge count, because the allowance is the number that actually shapes how many layers you can afford to issue.
If you are comparing platforms, our best Open Badges platforms ranking lays out the trade-offs side by side.
The short version
A bootcamp’s real product is not a certificate. It is a graduate whose skills are legible to an employer. Open Badges let you express that in pieces: skill badges for the stacks, project badges for the evidence, and a capstone badge for the whole program. Issue them from a CSV at the end of each module, make sharing a graduation task, and let the verification pages do the convincing.
Ready to issue your first verifiable credential? Start free at badges.ninja — visual designer, public verification page, PDF certificate, Open Badge v2.0 output. No credit card required.
About the author
Nacho Coll
Founder & Engineer at Badges Ninja
Nacho founded Badges Ninja to make issuing verifiable digital credentials as simple as a single API call — Open Badge v2.0 badges and certificates, minted, hosted, and verifiable without standing up your own issuer infrastructure. Writes about the Open Badges spec, credential verification, and running a credentialing platform serverless on AWS, from the operator side of the wire.