English
English
Appearance
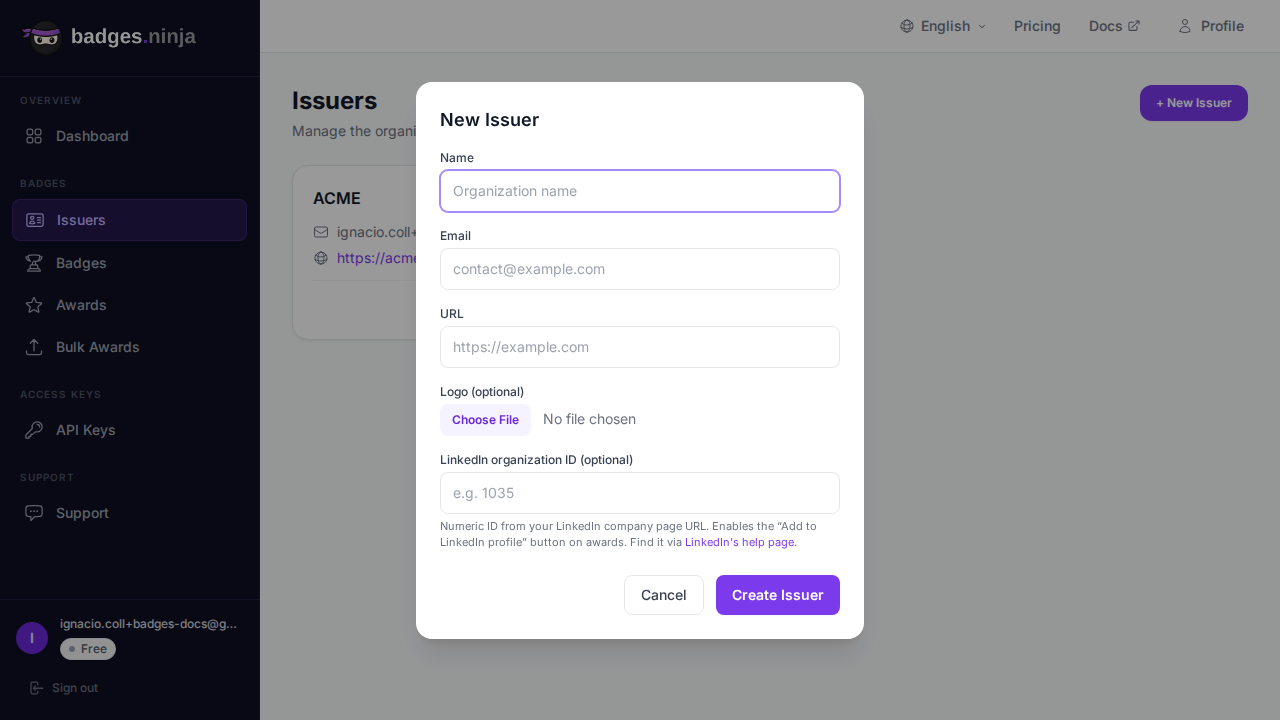
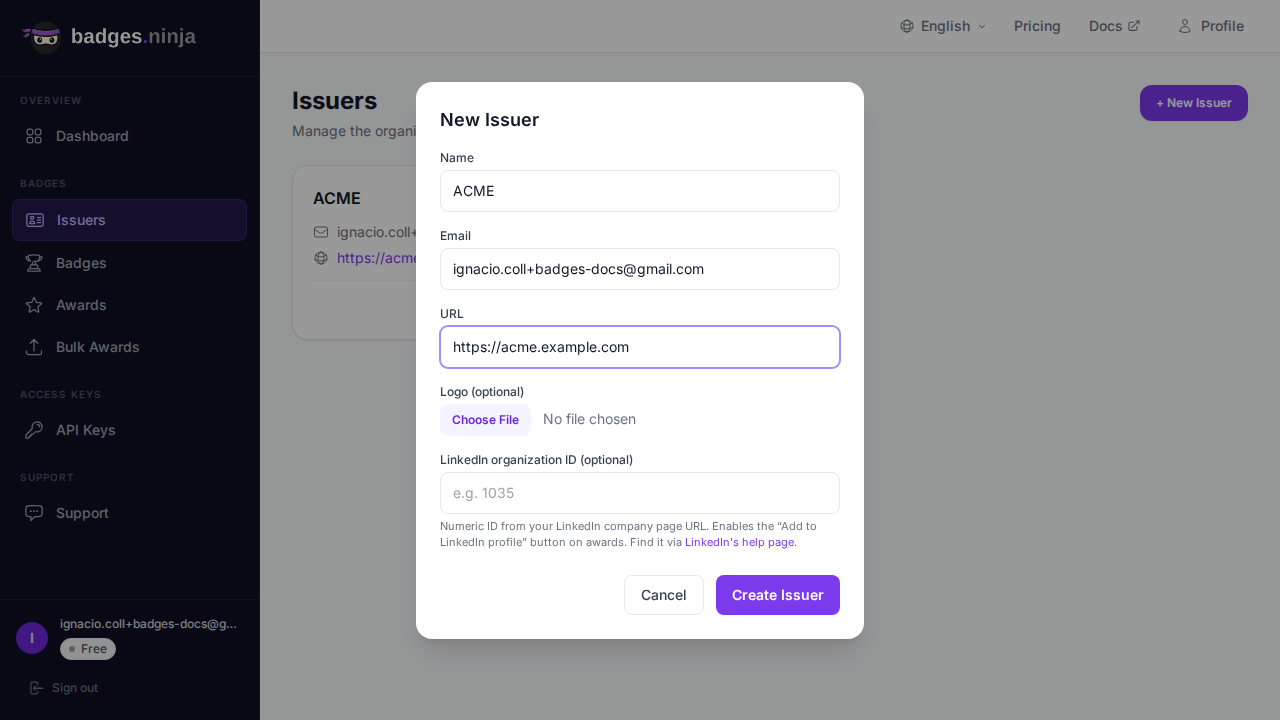
An issuer is the organization or individual that awards badges. Every badge must belong to a verified issuer. Issuers follow the Open Badge v2.0 Issuer Profile specification.
| Field | Required | Description |
|---|---|---|
| Name | Yes | Organization name (minimum 3 characters) |
| URL | Yes | Organization website (must start with http:// or https://) |
| Yes | Contact email for the issuer (used for verification) | |
| Logo | No | Upload an image for the issuer profile (shown on cards and public award pages) |
| LinkedIn Organization ID | No | Numeric ID of your LinkedIn company page — pre-fills the verified Company Page on the Add to LinkedIn Profile button (the button itself always appears) |
Each plan includes a maximum number of issuers (Free: 1, Starter: 5, Pro: unlimited). Creating an issuer is free as long as you stay within your plan's limit.
Every public award page carries an Add to LinkedIn Profile button — recipients click it once and the credential lands directly in the Licenses & Certifications section of their LinkedIn profile, no manual copy-paste. The button always appears (it falls back to the issuer name). Filling in the LinkedIn Organization ID field simply pre-fills the credential with your verified LinkedIn Company Page instead of a plain name, so it links to the right company.
To find your LinkedIn organization ID:
/company/ if you use the legacy format, or visible in the page admin URL.This is the single biggest lever for badge share rates — recipients are far more likely to share a credential when adding it to LinkedIn is one click instead of three.
Editing unverified issuers
You can edit any field of an issuer only while it is still unverified. Once an issuer is verified it can no longer be edited at all — this keeps the credential record stable. If you need to change a verified issuer, delete it (only possible if it has no badges) and create a new one. Note that saving an edit to an unverified issuer re-generates its verification code and invalidates the previous verification link.
Issuers must be verified before you can create badges under them. There are two verification methods:
If the issuer email matches your account email, the issuer is verified automatically when created. No additional action is needed.
If the issuer email is different from your account email:
If the email never arrives, open the issuer's Edit form and save it again — this re-generates the verification code and sends a fresh link (the previous one stops working). Editing is only possible while the issuer is still unverified.
You can also verify programmatically via the API using the verification code. See Issuers API for details.
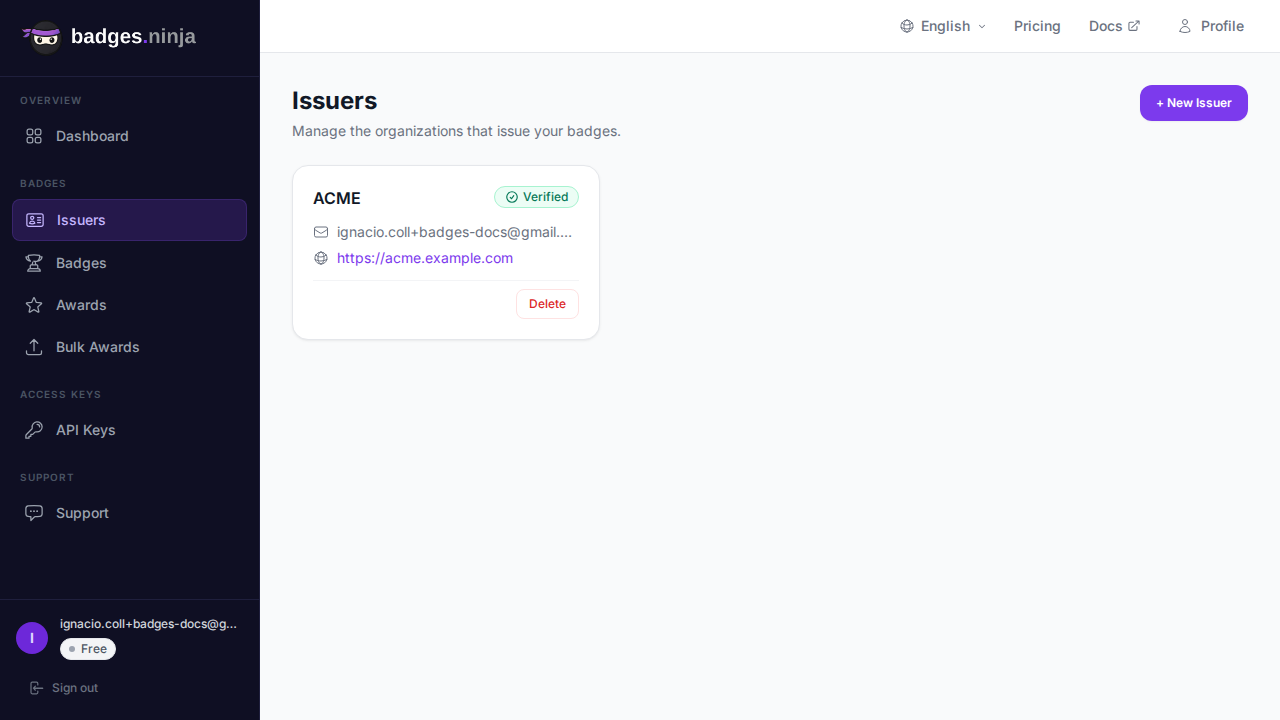
Each issuer is shown as a card in the list (the cards aren't clickable — everything is on the card face):

An issuer can only be deleted if it has no linked badges. If any badges still reference it, the dialog blocks the delete and tells you how many badges to remove first. To delete a busy issuer, delete all of its badges first, then delete the issuer.