English
English
Appearance
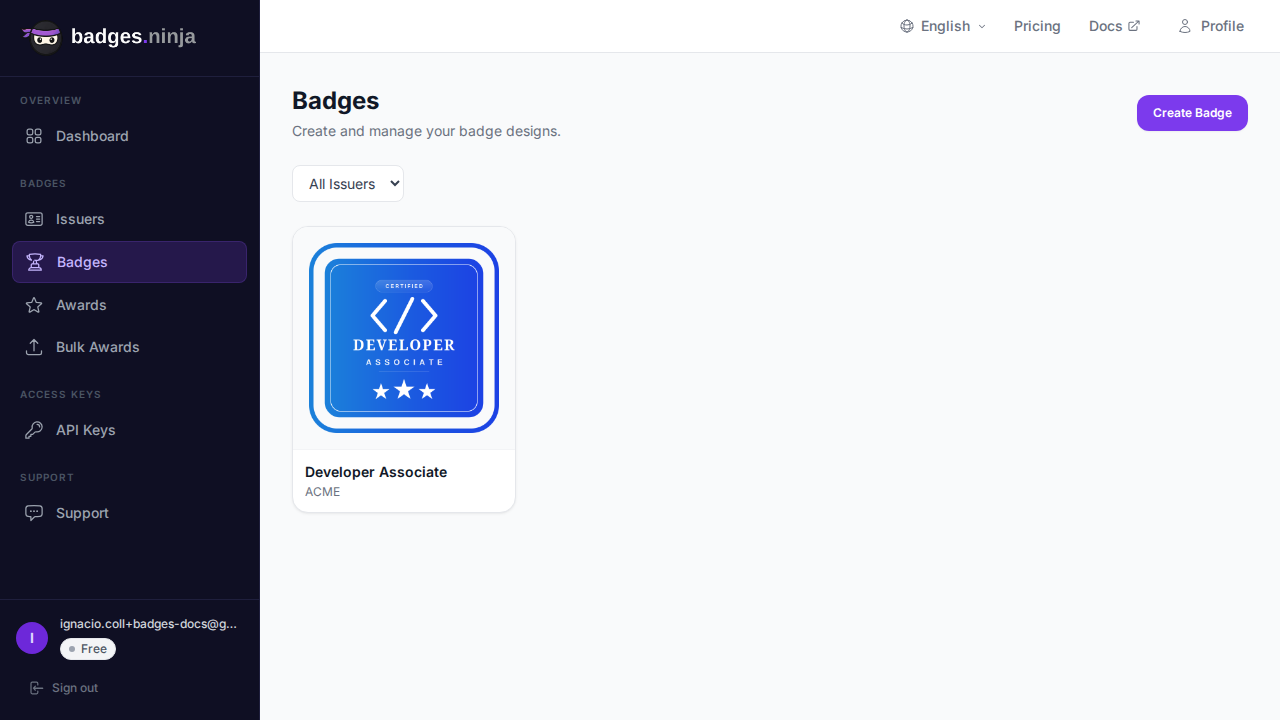
A badge is a credential template that describes an achievement, skill, or certification. Each badge belongs to a verified issuer and can be issued to multiple recipients. Badges follow the Open Badge v2.0 BadgeClass specification.
![]() 3. Select the issuer that will issue this badge. Only verified issuers are shown. 4. Fill in the required fields:
3. Select the issuer that will issue this badge. Only verified issuers are shown. 4. Fill in the required fields:
| Field | Required | Description |
|---|---|---|
| Name | Yes | Badge title (e.g. "Cloud Architecture Certified") |
| Description | Yes | What the badge represents |
| Criteria | Yes | What the recipient did to earn this badge |
| Image | Yes | Badge image — use the Badge Designer or upload your own |
The badge image is uploaded to IPFS for permanent, decentralized storage. The badge is now ready to be issued.
Click any badge card to open its detail view — the same popup used for editing, so you can inspect and modify in one place:

The detail view shows:
Badge create and edit use the same popup, so editing feels exactly like creating:
Badges with credentials are editable too. When a badge already has credentials, the editor opens with an amber banner explaining that your changes apply to future credentials only — every already-issued credential embeds a snapshot of the badge as it was at issue time, so recipients never see a credential change after the fact. (The issuer is locked once a badge exists.)
Every badge has a default share text shown to recipients on the public share page and used as the message pre-filled when they share their credential to LinkedIn, X, Facebook, WhatsApp, Telegram, or email. You can customize it from the same popup as the rest of the badge:
Plain text only — HTML tags are rejected.
Keep it short (around 200 characters) so it fits inside social-media post limits.
The field is seeded with this default template when you create a badge:
Excited to share that I just received the "{{badge_name}}" certification!

Thanks to {{issuer_name}} for this awesome recognition.

{{award_url}}Share text supports tokens that the backend substitutes per recipient at share time (never in the editor). Click + Insert placeholder above the field to drop a token in at the cursor:
| Token | Replaced with |
|---|---|
| The recipient's name |
| The badge name |
| The issuer name |
| The issue date |
| The public credential URL |
When creating a badge, a Reset to default template link restores the seeded text if you've edited it.
A badge can only be deleted if it has no credentials. If credentials exist, the confirmation dialog does not appear — instead an inline red error tells you the badge still has issued credentials and can't be deleted yet. To remove such a badge, first clear its credentials from the Credentials page (revoke or delete each credential), then return here to delete the badge. Or simply leave the badge in place — it costs nothing to keep.